| doc | ||
| infrastructure/backup | ||
| public | ||
| src | ||
| .gitignore | ||
| .gitlab-ci.yml | ||
| build.py | ||
| LICENSE | ||
| package.json | ||
| project.clj | ||
| README.md | ||
| shadow-cljs.edn | ||
convention 4 kubernetes: c4k-taiga
chat over e-mail |
team@social.meissa-gmbh.de | taiga & Blog
Purpose
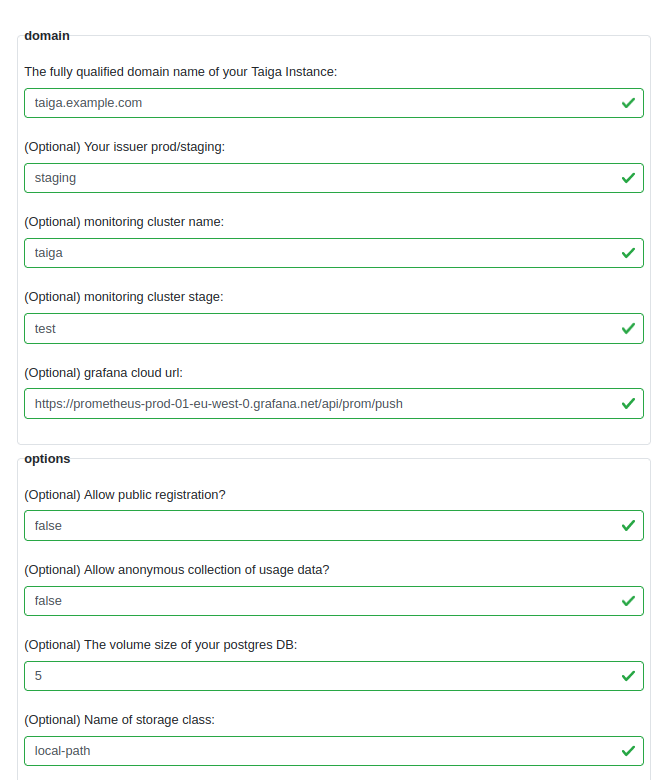
Easily generate a config for a small scale Taiga deployment. Complete with initial super user and configurable values for flexibility.
Status
Ready for production. We are about to migrate to taiga on our own servers.
Try out
Click on the image to try out live in your browser:
Your input will stay in your browser. No server interaction is required.
Usage
To generate your configuration:
- Create an auth.yaml and a config.yaml
You can find examples in src/test/resources/taiga-test in this repository.
Please check the def auth? and def config? definitions in src/main/cljc/dda/c4k_taiga/taiga.cljc
for required and optional values. When you plan to use the dda_backup solution, you also need the keys:
- aws-access-key-id: "AWS_KEY_ID"
- aws-secret-access-key: "AWS_KEY_SECRET"
- restic-password: ""
in your auth.yaml
and
- restic-repository: "repo-path"
in your config.yaml.
- install jarwrapper
sudo apt install jarwrapper # on debian derivatives
- execute the c4k-taiga-standalone.jar
java -jar c4k-taiga-standalone.jar config.yaml auth.yaml
To set up you need:
- A working DNS route to the FQDN of your taiga installation
- A kubernetes cluster provisioned by provs
- The .yaml file generated by c4k-taiga-standalone.jar
Apply this file on your cluster with kubectl apply -f application.yaml.
Done.
Setup
python manage.py createsuperuser --noinput
Administration
You can access the administration of the taiga installation via: your.taiga.url/admin/
In order to login, you first have to create a superuser.
- Connect to taiga-back pod:
kubectl exec -it taiga-back-deployment-... -- bash source /opt/venv/bin/activate && python manage.py createsuperuser --noinput
Backup
You need some form of cloud storage like AWS buckets and the respective access credentials to make the backups work correctly.
For a working backup you need to save Taiga DB & Taiga Media as described here: https://docs.taiga.io/backup-and-restore.html
For further instruction please refer to BackupAndRestore.md in doc/ in this repository.
Development & mirrors
Development happens at: https://repo.prod.meissa.de/meissa/c4k-taiga
Mirrors are:
- https://gitlab.com/domaindrivenarchitecture/c4k-taiga (issues and PR, CI)
- https://github.com/DomainDrivenArchitecture/c4k-taiga
For more details about our repository model see: https://repo.prod.meissa.de/meissa/federate-your-repos
License
Copyright © 2022 meissa GmbH Licensed under the Apache License, Version 2.0 (the "License") Pls. find licenses of our subcomponents here

